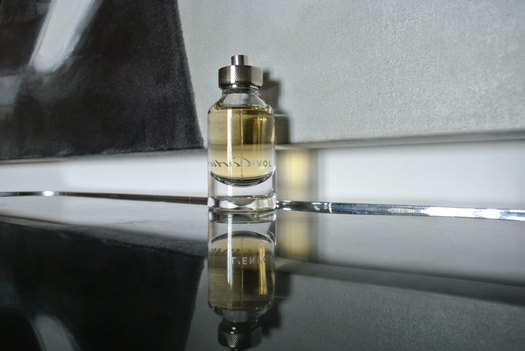
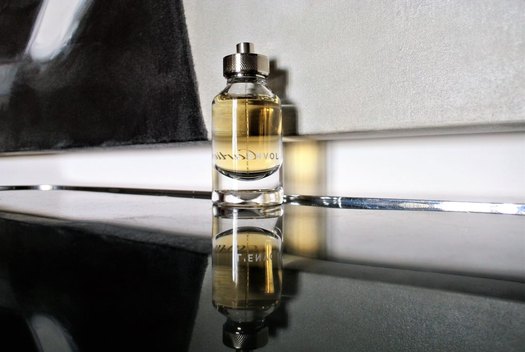
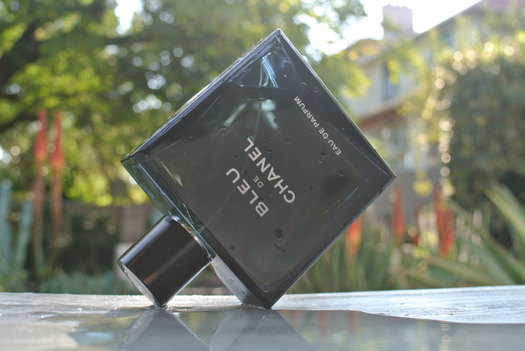
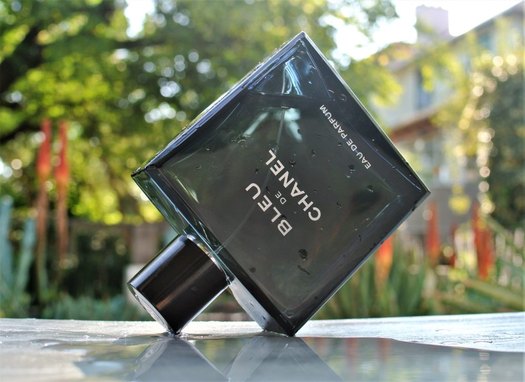
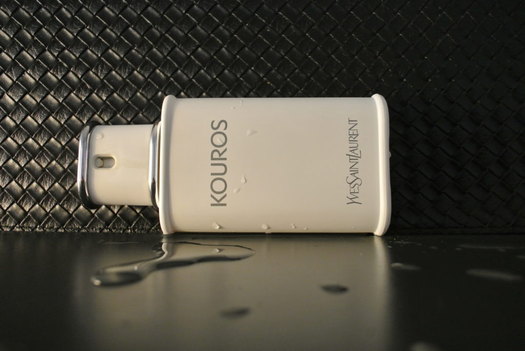
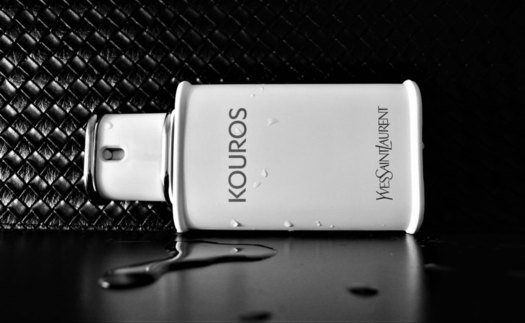
Two years ago, when I started my blog, my camera skills were pretty useless. I’m not counting Instagram and its various filters here. I was fortunate to be given a nifty and user-friendly Nikon camera by my sister. When I first started using it, my fragrance photography was rudimentary (not even 101). But over the last two years I’ve started honing my skills. I’m not claiming to be an expert. But I think these tips should help if you’re looking to improve your fragrance photography skills. Most of these tips work best in combination and don’t require the set-up of a photographic studio (which I don’t have). I’ve included a series of before and after images here to illustrate the various tips.
INVEST IN A GOOD CAMERA
Sorry, I don’t use a cellphone for my blog photography. From experience, I get great joy from my Nikon V1. It has lots of useful features, without getting too complicated, and comes with a 10-30mm lens. You can buy it from Amazon.com for new for $899.00: here.
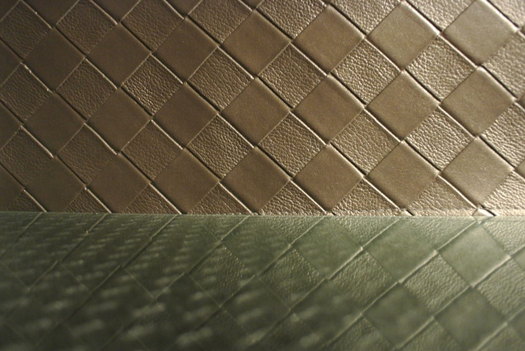
SURFACES, SURFACES, SURFACES
If you’re really set on a cohesive look with little variation, then sticking to one kind of flat surface is for you. However, if you want to vary your images (while still having your own look), you need to become a seasoned surface-hunter. Whenever I’m out and about, I’m always on the lookout for new surfaces to shoot on. Friends’ homes never look the same again.
BACKGROUNDS
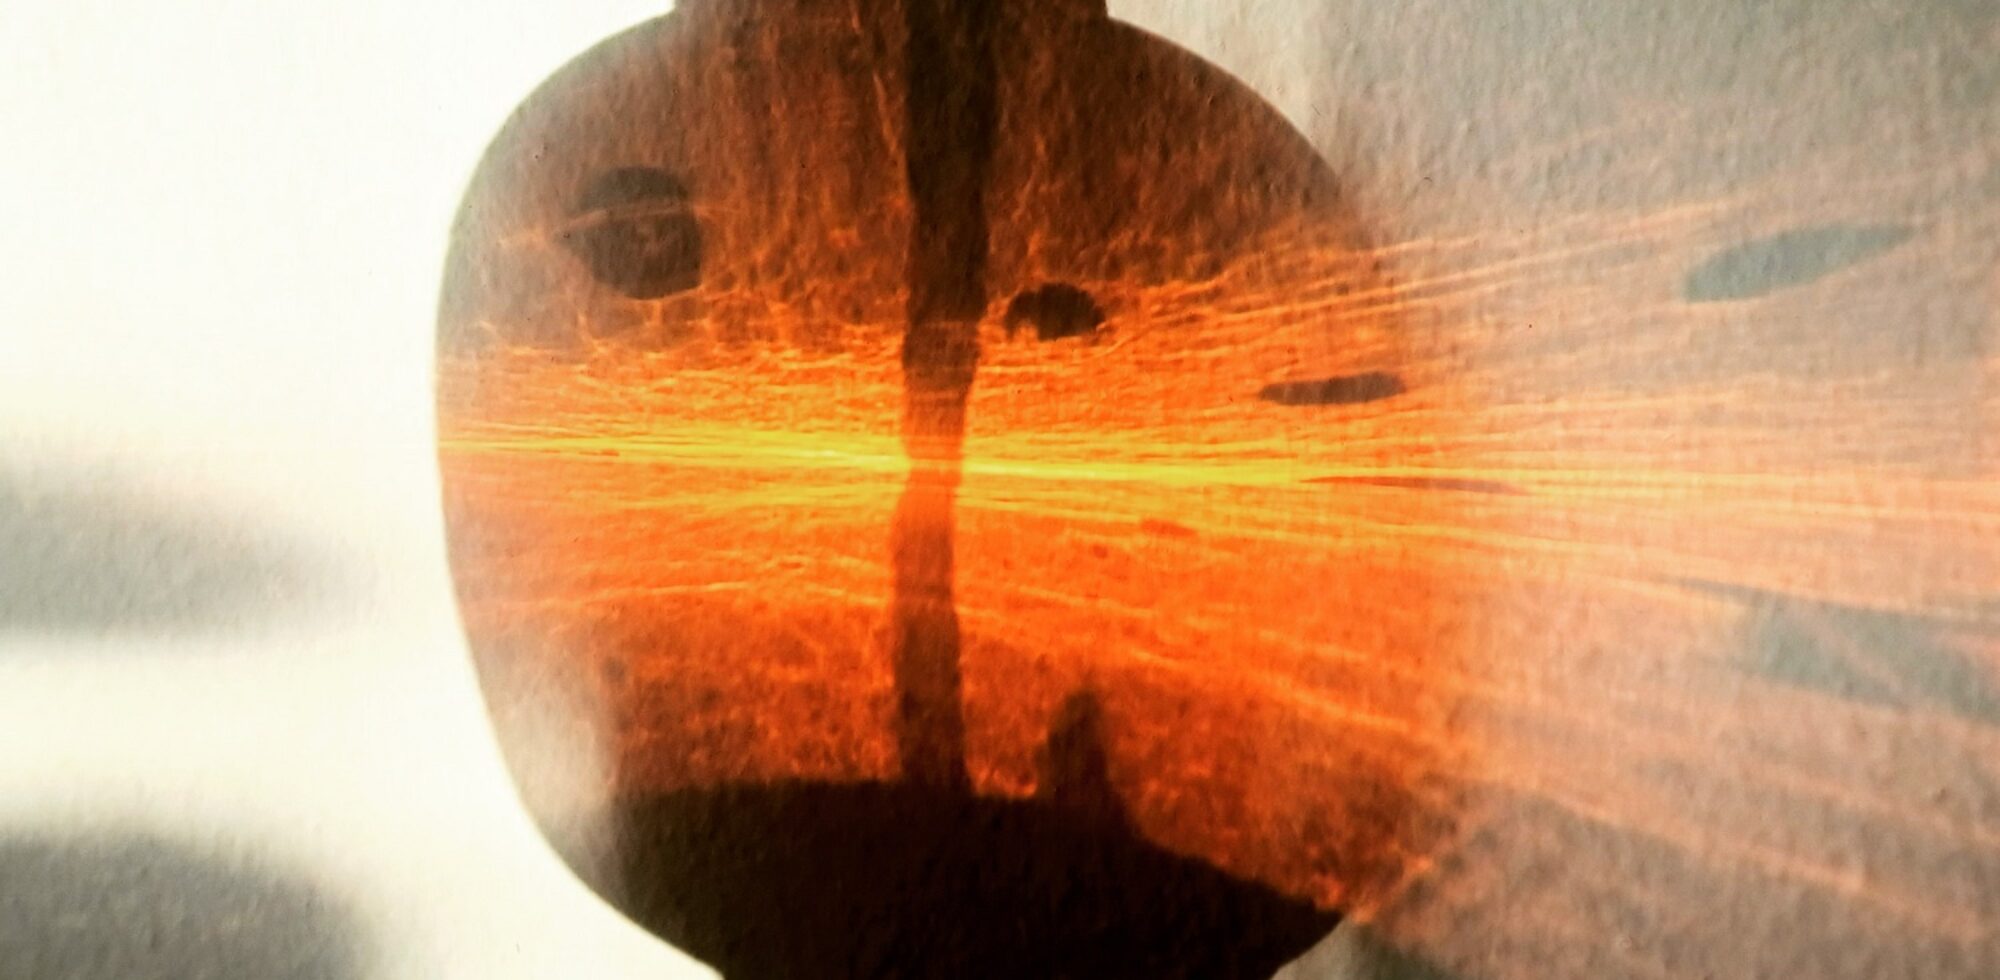
Another good way to improve your fragrance photography is to use a variety of backgrounds, whether indoors or outdoors. You’ll be surprised to discover how even seemingly ugly backgrounds with the right lighting and editing can add to your look. So don’t overlook even the “ugliest” of drainage systems.
PROPS ’N ACCESSORIES
While on the lookout for surfaces and backgrounds, keep accessories in mind, too. These can take the form of statues, jewellery, coloured glass, flowers, plates – the options are limitless. Whatever you do, make sure these accessories are clean and don’t take away the attention from your bottle. I keep a prop box to store things like pieces of ribbon, cute toys, chains and textured place mats (for backgrounds). You never know…
LIGHTING, CAMERA, ACTION!
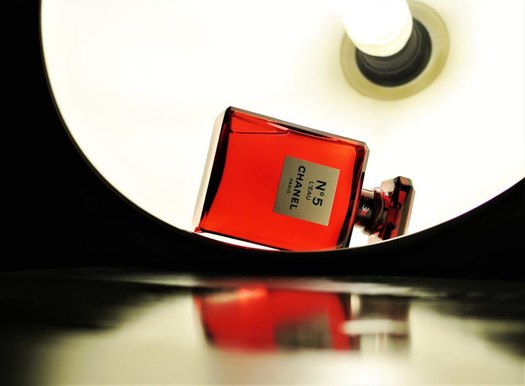
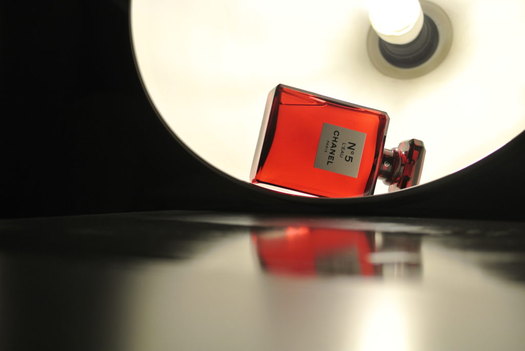
How you use lighting, whether while taking pics or in post-production, will heavily influence the outcome of your fragrance photography. Beware of shooting in too much direct sun (lots of glare) or in dingy interiors (which can make images look “dirty”). I like to use lighting effects such as shadows (which can hide some fingerprints and specks of dust), contrast and highlights to create “moody” images.
EDITING SOFTWARE
You don’t have to be a Photoshop whizz to treat your images to essential post-production editing. I use some very basic photo-editing software to transform some quite average-looking images to striking images that most people would not believe have been processed through Microsoft Photo Editor.
WATER WORKS
Whenever I’m struggling to get a shot and I need to eradicate any unsightly blemishes or specks, I apply water splashes or even a full glass, depending on what’s required. I probably over-use this effect, but that’s because it’s such a versatile solution. And often creates (super-pleased with myself) reflections. Even better, just make sure to wipe your surfaces and bottles (including tops) and double-check with your zoom-in facility that you haven’t left any nasties behind.
Great post, thank you for the tips!
My pleasure. Hope you found them useful.
Loved your tips,R! Thank you for sharing them. Especially liked the one of backgrounds outside and at friends houses. Light can be a challenge in The Netherlands but I can imagine it is different where you live seeing your photographs.
Big thanks, Esperenza! We generally have lots of light here in Johannesburg, even in winter. Sometimes too much.